AC installation – How to install AC in home?
So, you have bought a new AC online at a great deal. But, the main hustle is still left because that piece of machinery is not going to hang itself on your wall. AC installation needs a lot of expertise, and you can’t do it single-handedly. So, either you need to call a technician or do it yourself if you have sufficient knowledge, tools, skills &, of course, a helping hand.
But, today, we are going to look into both situations :
- How can you install an AC by yourself?
- How much does it cost to get the AC installed by a technician?
Can you install an AC unit all by yourself?
The answer is NO. You can’t install an AC all by yourself. But, if you have the knowledge, skillset, and a friend to give you a hand, you can do it. All it takes is a drill machine, right extensions & a can-do attitude.
Although if you ask for our opinion, we don’t advise doing it until there is no other option. Calling a professional will save you a lot of heavy work & time.
But, as you insist, we will tell you the simplest of ways that you can use to install the AC unit in your home. Go through the points listed below to get a clear idea about the things you will have to go through during AC installation.

Placement of AC
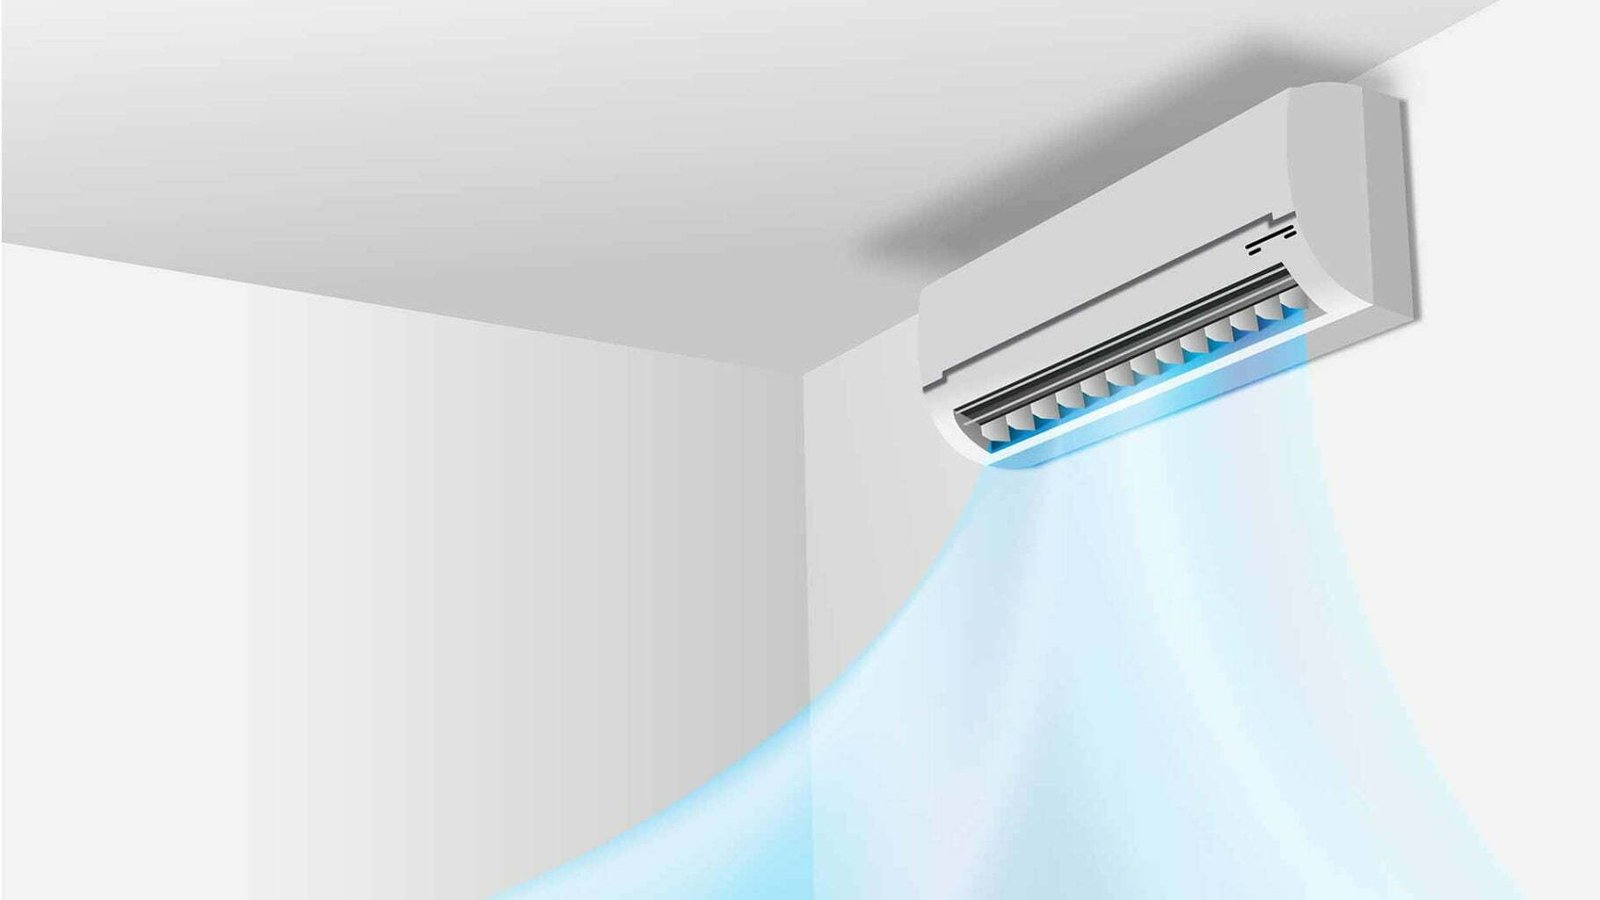
The AC unit should be placed on a strong wall perpendicular to your bed & where the least amount of sunlight & heat falls on it. Proper placement of air conditioners increases your comfort and helps in saving a considerable amount of electricity.
Split AC indoor unit installation
In this part of this AC installation guide, we will talk about installing the indoor unit of AC. The installation process is suitable for most of the models that you can find today.
1. Best location to install the indoor unit of a split AC
Select the best place to install the indoor unit by checking against the following parameters :
- There should be no obstacle near the air outlet, and air can be easily blown to every corner of the room.
- Where piping and wall holes can be easily arranged.
- Observe the required distance from the ceiling and wall according to the installation diagram.
- Where the air filter can easily be removed.
- Keep the unit and remote control 1m or more from television, radio, etc.
- To prevent the effects of a fluorescent lamp, keep the unit as far as possible from it.
- Do not put anything near the air inlet that could obstruct it.
- Install it in a place that can bear the weight and will not increase operating noise and vibrations.
- The indoor unit is not suitable to be installed in areas used for laundry.
2. Installing the Mounting Plate
- Select a location to install the mounting plate according to the indoor unit location and piping direction.
- Adjust the mounting plate horizontally with a water-level or plumb line.
- Drill holes 32mm deep on the wall to fix the plate.
- Insert the plastic plugs in the hole, then fix the mounting plate with tapping screws.
- Check that the mounting plate is well fixed.
Now, you can drill a hole for piping.
3. Drill a Hole for Piping
- Decide the position of the hole for piping according to the location of the mounting plate.
- Drill a hole in the wall. The hole should slightly be inclined downward toward the outside.
- Install a sleeve through the wall hole to keep the wall tidy and clean.
4. Indoor AC Unit Piping Installation
- Fit the piping (liquid and gas pipe) and cables through the wall hole from outside or fit them from inside after completing indoor piping and cable connections to connect to the outdoor unit.
- Decide whether saw off the plastic part in accordance with the piping direction.
- After connecting the piping as required, install the drain hose. Then connect the power connecting cable. After connecting, wrap the piping, cable, and drain hose together with thermal insulating materials.
- Wrap the piping joints with thermal insulating materials and then wrap with vinyl tape.
- Place the drain hose under the piping.
- The drain hose should point downward for easy drain flow. Do not twist the drain-pipe, leave it sticking out or waving around, do not immerse the end in water. If an extension drain hose is connected to the drain-pipe, make sure to be thermally insulated when passing it through the indoor unit.
- When the piping is directed to the right, the piping, power cable, and drain hose should be thermally insulated and fixed at the unit’s rear.
- Connect indoor unit pipes with two wrenches. Pay special attention to the torque allowed as shown below to prevent the pipes, connectors, and flare nuts from being deformed and damaged.
- At first, fingers-tighten them, then use the wrenches.
5. Connecting the Cable of indoor Unit of AC
- Open the front panel, remove the covering plate by loosening the screw.
- Connect the power connecting cord to the indoor unit by connecting the wires to the terminals on the control board individually.
- Secure the power connecting cord on the control board with a cable clamp.
- Refit the covering plate and tighten the screw.
Safety precautions while connecting the cables:
- Ensure that the color of the wires and the terminal number of the outdoor unit are the same as those of the indoor unit.
- Use an individual power circuit specifically for the air conditioner. As for the wiring method, refer to the circuit diagram on the appliance.
- Check that the cable specification conforms to the table as follows.
- Check the wires and make sure that they are all tightly fastened after cable connection. The cable should be tightly fastened by a cable clamp.
- Be sure to install an earth leakage circuit breaker in a wet or moist area.
Split AC outdoor unit installation
In this part of this AC installation guide, we have enlisted all the factors you need to keep in mind while installing the AC’s outdoor unit. This procedure is also generalized and can be followed for most of the models.
1. Best location to install the outdoor unit of a split AC
Select the best place to install the outdoor unit by checking against the following parameters :
- Install in a convenient and well-ventilated place.
- Avoid installing it where flammable gas could leak.
- Observe the required distance from the wall according to the installation diagram.
- The distance between the Indoor and outdoor units should be 5 meters. They can go up to a maximum of 15 meters with an additional refrigerant charge.
- Do not install the outdoor unit in a dirty or greasy place near a vulcanization gas exit.
- Avoid installing it at the roadside, where it could be soiled with muddy water.
- Opt for a fixed base where operating noise will not increase.
- Select a place where the air outlet is not obstructed.
- The installation position shall be able to withstand the weight and vibration of the outdoor unit and ensure safety to the residents.
- Place it in a position where drained water does not cause any problem.

2. Installing the Drain Port and Drain Hose
The condensate drains from the outdoor unit when the unit operates in heating mode. In order not to disturb your neighbors and protect the environment, install a drain port and a drain hose to direct the condensate water. Just install the drain port on the outdoor unit’s chassis, then connect a drain hose to the port.
3. Fixing the Outdoor Unit
Fix with bolts and nuts tightly on a flat and robust floor. If installed on the wall or roof, make sure to fix the supporter well to prevent it from shaking due to severe vibration or strong wind.
4. Outdoor Unit Piping Connection
Remove the valve caps from the 2-way and 3-way valve & Connect the pipes to the 2-way and 3-way valves separately according to the required torque.
5. Connecting the Cable of indoor Unit of AC
- Remove the access door from the unit by loosening the screw. Connect the wires to the terminals on the control board individually in accordance with the indoor unit connection.
- Secure the power connecting cord on the control board with a cable clamp.
- Refit the access door in the original position and tighten the screw.
- Use a recognized circuit breaker between the power source and the unit. A disconnecting device to adequately disconnect all supply lines must be fitted.
AC installation charges
Most of the companies have a 72-hour installation policy. You can register a service request on their website or call their customer care support & service.
The standard cost to install air conditioning in a house varies between ₹999 to ₹1499, excluding the cost of accessories and parts. Although, including everything, it will cost somewhere between ₹3000 to ₹8000 based on the length of pipes, cables & number of parts you have to buy.
Cyborg tip:
Suppose you don’t have the proper power outlet for AC installation or don’t have considered how the drain & outlet is going to work. In that case, it’s possible that you might end up paying a whole lot more money to the installation engineer.
Buying the installation accessories like wall bracket, copper pipe, power plug, wires, etc., from the service engineer at the time of installation will always cost you more. So, It’s better to order the extra accessories online or purchase from the local market. All you need is to make estimates of measurement & buy them prior to calling the company for installation.
AC installation Tips– Top 9 things to take care of

- Check for any manufacturing or handling defects or breakage by yourself before calling the installation engineer. Ask for a replacement if the product is damaged.
- Keep the distance between the indoor and outdoor units as minimum as possible. It will reduce the cost of the copper pipe and lower the amount of heat gain into the refrigerant. The maximum distance should never exceed 15 meters.
- Always install the indoor unit of split AC on a wall strong enough to hold the weight.
- Place the outdoor unit on a flat and rigid surface to avoid vibration during operation, which can cause damage to internal components. Always use a water level to level things out.
- Don’t place the outdoor unit in very hot, humid, or dusty areas. If you are placing it onto the ground, put it on a flat concrete pad to avoid water entrance. Preferably place the outdoor unit in the shade for better efficiency.
- The indoor unit of split AC requires at least 15 cm of open space surrounding its top and sides for proper airflow.
- Try to Mount the indoor unit of split AC at the height of 7-8 feet above the floor.
- Do your best to minimize how much the pipes and cable bend, to ensure that the unit performs well.
- Ensure the indoor unit tilts backward 2-3 degrees so that water can easily flow out of the drain pipe.
FAQ
At what height should split AC be installed?
Always Mount the indoor unit of split AC at the height of 7-8 feet above the floor. And for the outdoor unit, Place it on a flat and rigid surface to avoid vibration during operation, which can cause damage to internal components.
What is the maximum distance between indoor-outdoor units of split AC?
The distance between the Indoor and outdoor unit should be 5 meters and can go up to a maximum of 15 meters.
Should a window air conditioner be tilted?
Typically you should tilt the window AC half an inch towards the outside in order to avoid any dripping of the condensate inside your room.
Is it OK to put AC in the kitchen?
Yes, you can, but you shouldn’t. A very low temperature inside the kitchen will not only increases the cooking time but also increases the energy consumption of the house. It is advised to use a strong exhaust complimented with a wall or tower fan to cool down the kitchen during summers.
How long should an AC unit sit after moving?
After moving an AC unit or any refrigeration-related appliance, you should wait for 30-45 minutes before using it. This practice helps the refrigerant inside the m/c to settle down and prevents malfunction.
What is the best way to choose an air conditioner for a room?
Here are the 7 steps you can choose a great AC for your home.
1. Firstly, decide your purpose.
2. Calculate the room size for selecting the best suitable capacity of AC.
3. Look for a 5-star BEE rating.
4. Opt for copper coils only.
5. Check Refrigerant type.
6. Check smart-home compatibility.
7. Inquire about additional features you will like to have in it.
8. Look for more extended & separate warranties.
What is included in a standard AC installation?
Following are the things that are covered under standers installation :
1. Drilling on the wall to connect IDU to ODU.
2. Installation of the copper pipe and the drainage pipe.
3. Connection of separately purchased stabilizer.
4. Electrical connections.
5. Cooling performance check.
6. Product demonstration.
A standard installation will generally cost you around (₹1499 +GST) & is done within 72 hrs from the time of delivery. Installation charges are to be paid directly to the brand engineer at the time of installation. Some additional charges for core drilling, extra copper wire, stand/fitting & other accessories can be asked by the engineer.
Can you put an AC in the bathroom?
No, you shouldn’t. It will block the ventilation and is also not good for your health. Bathroom exhaust is a better option to consider here.

 Cyborg tip:

It’s great that you mentioned that the AC unit should be placed on a strong wall perpendicular to your bed & where the least amount of sunlight & heat falls on it. My dad will have his new AC unit installed in his home soon and need to ready his house for the installation. I’ll share this with him since he hasn’t chosen where to put the AC unit yet. Thanks! http://www.totalcomfort-hvac.com/ac-installation